Some events are bound to happen- especially as your cases progress. That’s why we’ve added the new event automation that works directly within Clio for automated events on your calendar.
In this guide, we’ll go over how to use the new automation within Legalboards. If you’re more of a visual learner, check out the video below to see how the new event automation works.
Please also note, this automation is only available for users that have integrated their Clio accounts. Visit our support portal for information about how to integrate.
Getting Started
Like our other automations, creating this follows the same steps of selecting some parameters and a trigger. To learn more about automation in Legalboards, check out this article.
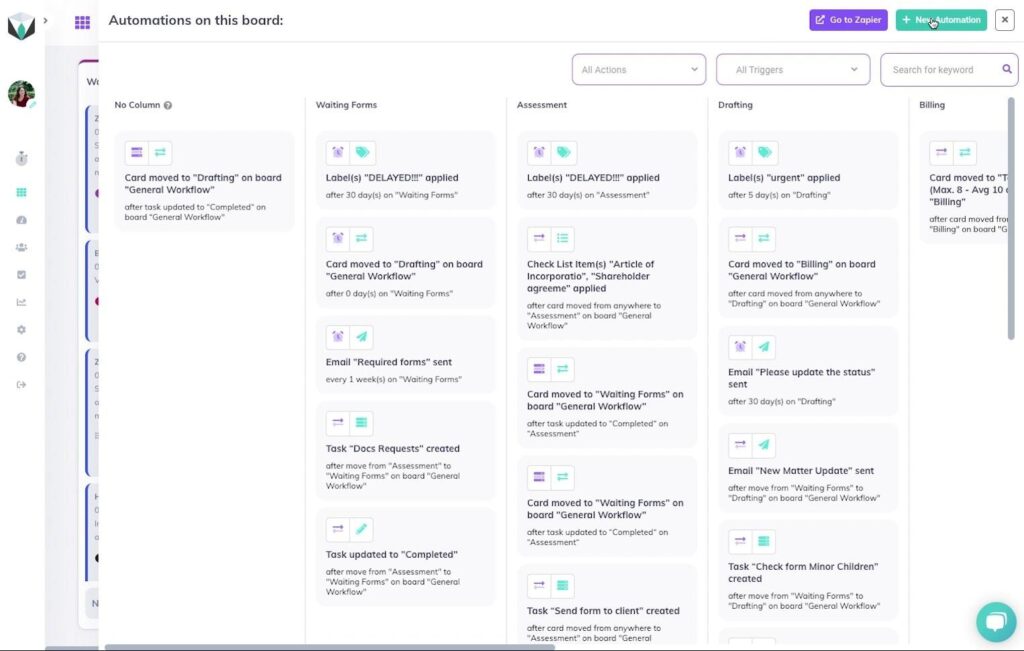
To view the automations on a board, simply click the “My Automation” button. Here, we can see all of the automations for the current board we’re using organized by the board’s columns. In the case that your board has multiple automations, you can also filter these by the action, trigger, or keyword.
Creating The Automation
To create a new automation, we’ll click the “New Automation” button, as shown below.

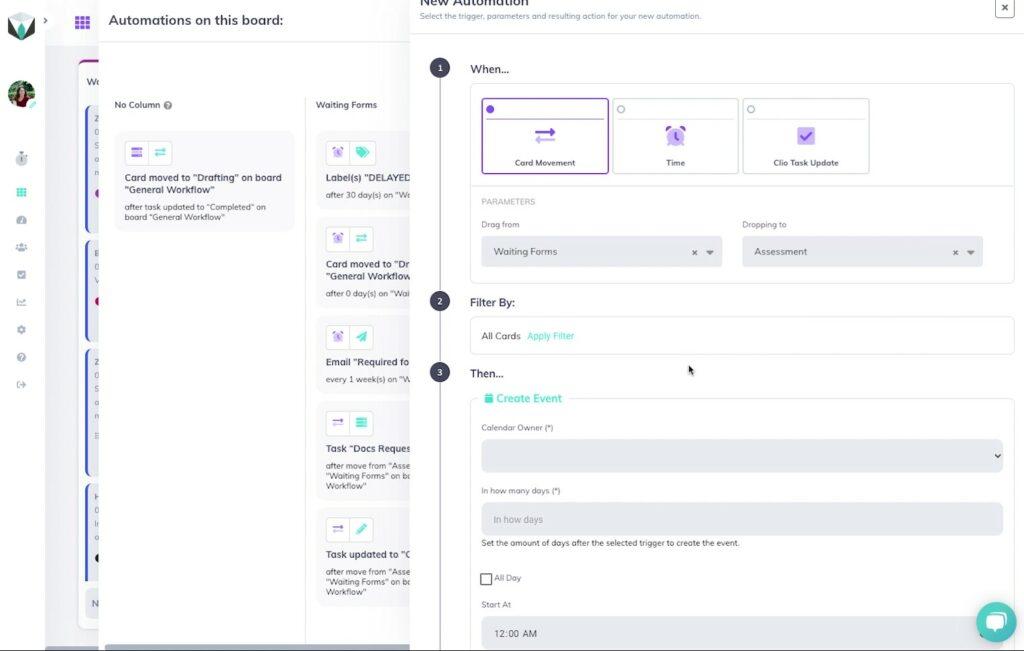
From here, the sub-menu will appear with options to create a new automation. Now we’re going to select “Create Event”. We can select one of the three triggers (card movement, time, and Clio task update). For this example, let’s focus on using the card movement trigger. Using either of the other two triggers can help create automated events based on completing a task or a follow-up based on elapsed time.
We’ll select “Card Movement” as our trigger and specify movement from the “Waiting Forms” column to the “Assessment” columns for when we want to set up a call between the firm and clients. Then we’ll keep the filter to be for all cards.

Specifying Details About Your Event
We’ll need to specify some information about the event that we want to be automatically created based on the card’s movement. Calendar automation can be especially helpful when we want to set up an event based on case progression.
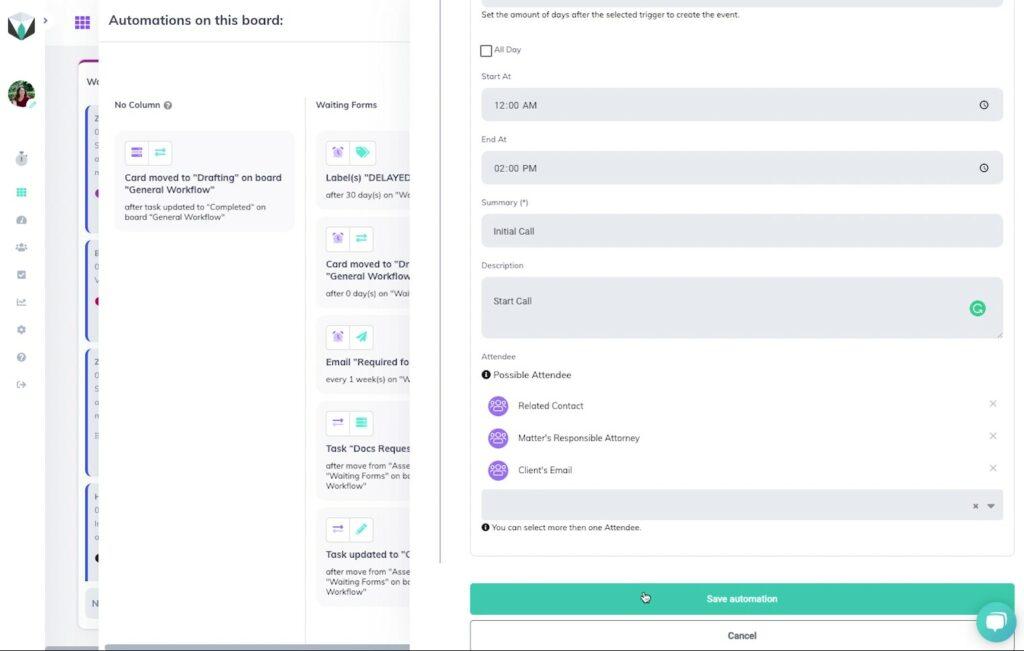
In this example, we want to create an event 2 days after the card has been moved. To do this, we’ll need to specify whose calendar this event is going to be created for, our period between the task being updated and the event creation, and the timing and summary, description, and attendees of the event.
For the attendees, we have a selection of options, and you can choose more than one. For this example, we’ll choose “Related Contact”, “Matter’s Responsible Attorney”, and “Client’s Email” as the parties we would like to attend this event, as shown below.

Once we’ve filled out all of the fields, we can save this automation and start benefitting from using it. Automated events are helpful for meetings we know need to happen after certain triggers and can be attended by both internal and external parties.
Need Some More Help?
Didn’t find what you were looking for? Check out our support portal, and YouTube channel, or contact us for more help.


