We’ve introduced a new feature that helps you easily find exactly what you need in no time. With the new board filters, you can filter your board by multiple parameters and save those selections to use again anytime.
In this guide, we’ll walk you through how to get started with creating board filters to easily see the information you need.
How to Set Up Board Filters
Step 1: Set Up a Filter
To get started setting up filters for the board, we’re going to find the “Add Filters” icon (as shown below).
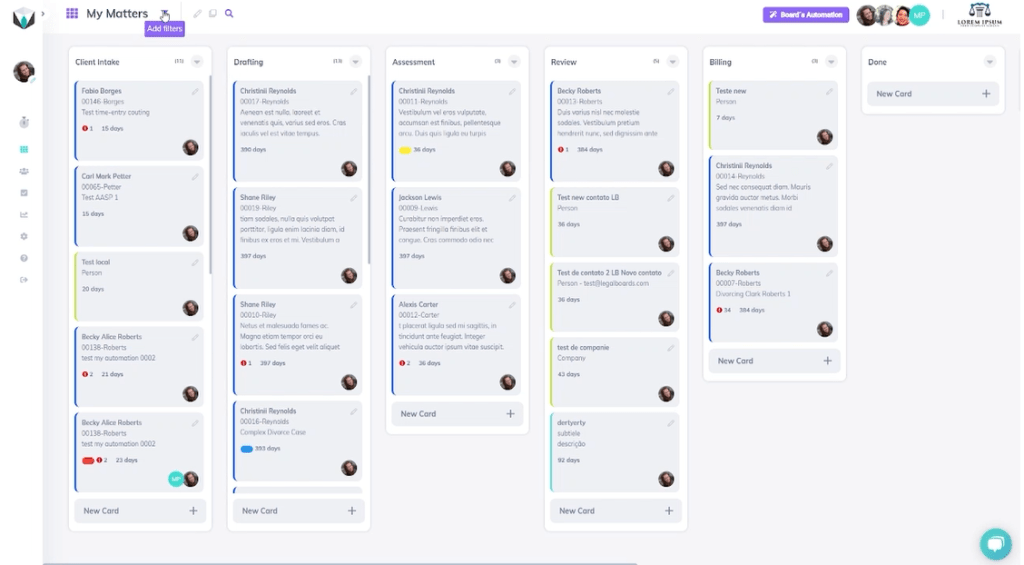
When we click on that icon, we can set up an advanced filter from the sub-menu. To make an advanced filter, we can filter by active cards, keywords, assignees, and labels, as seen below.
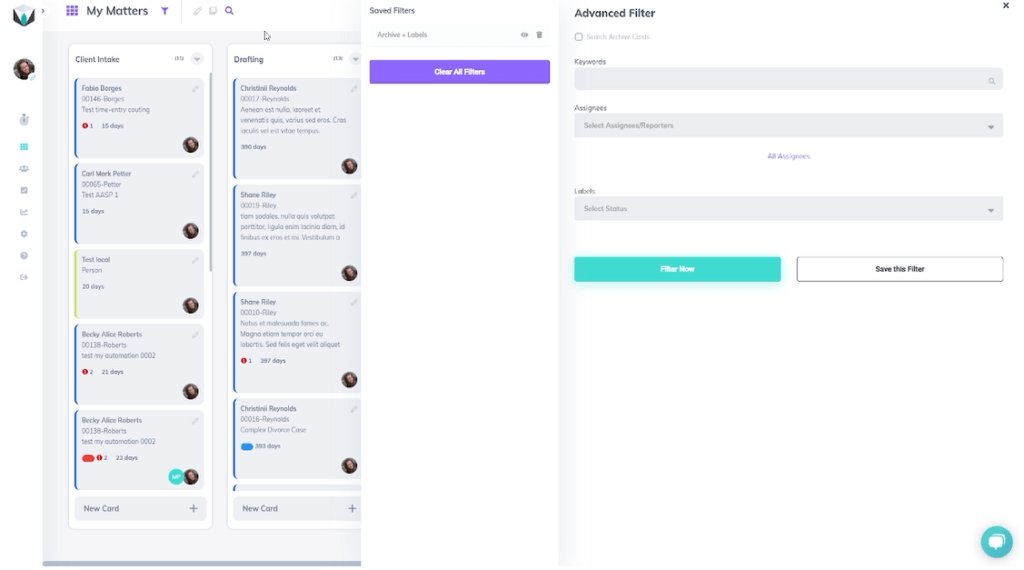
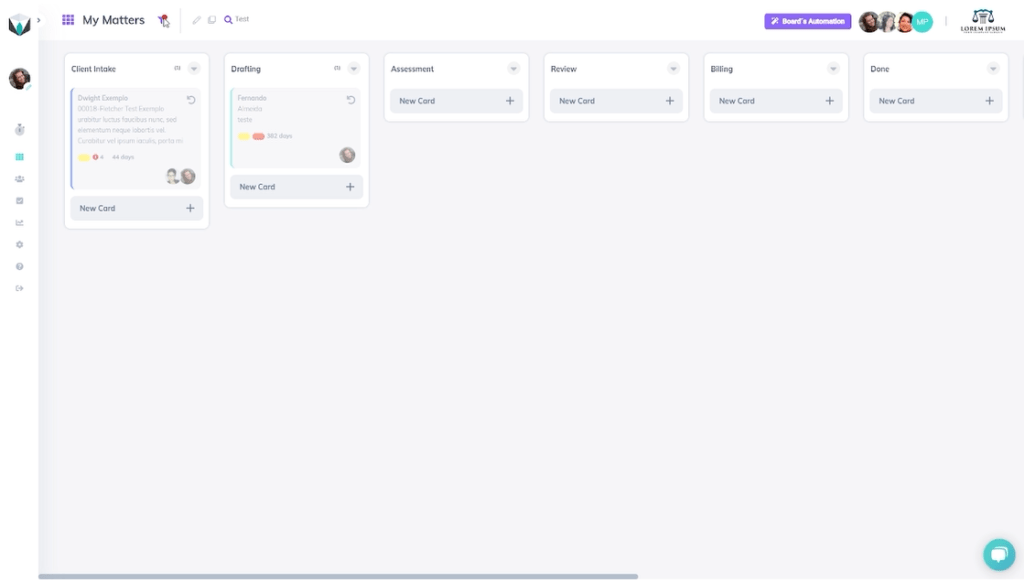
In our example, we’re going to select active cards, include the keyword “test”, a specific assignee, and select the “Important” label. Once we’ve inputted the desired information, we’ll select the “Filter Now” button to see our selections. Depending on the amount of cards on your board, it may take a second to properly filter through the cards.
Step 2: Saving a Filter
So, now we have the first filter results. Now we want to create another filter without the keyword information. To do this, we’ll click the same “Add Filters” icon. To create a filter without it, we’ll take out the keyword information and select the “Filter Now” button again.
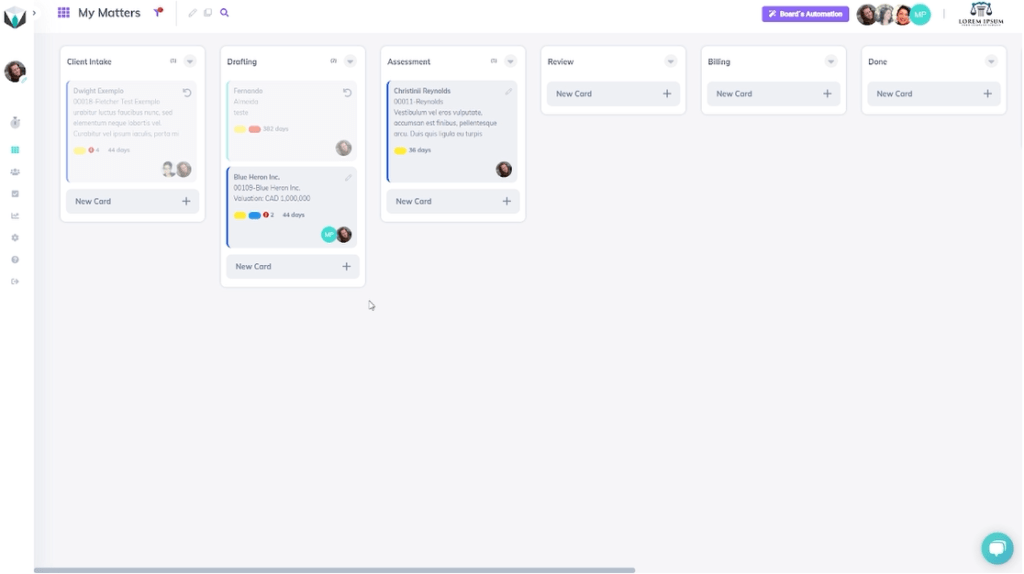
By excluding the keyword information, we can now see more cards on the board. Notice how in addition to the first assignee (Jessica Gonzalas), there is another important assignee. Let’s add that assignee to the filter as well and then save it.
Again, we’ll open the filter sub-menu through the “Add Filters” icon. Then, we’ll add this second assignee (Mike Patton) and select the “Save this Filter” button to save our selections.
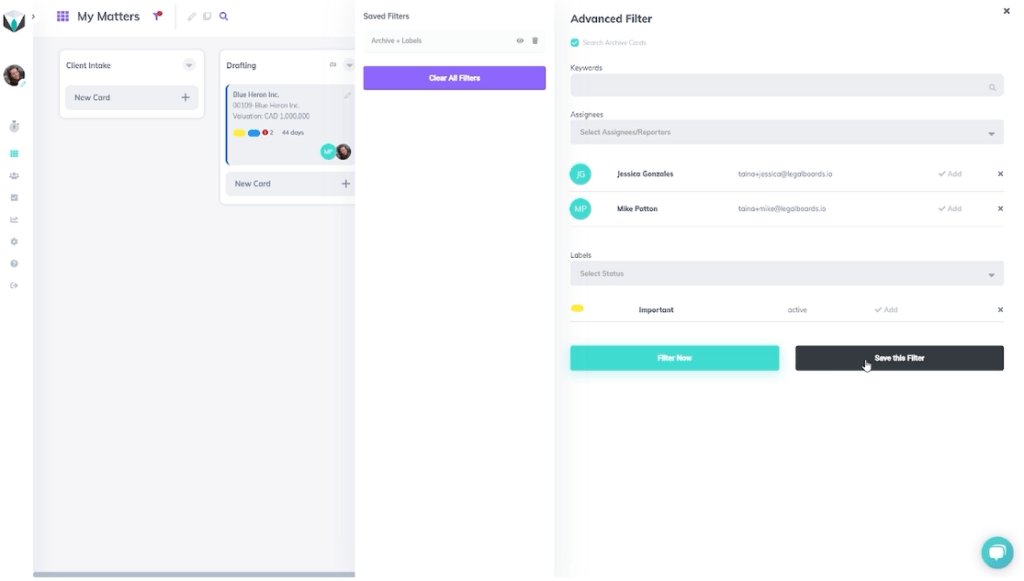
Now, a pop-up will come up asking for a name for the filter. For us, we will name the filter “Mike Patton Filter” and save it. From there, a new saved filter will appear to reflect our newly saved filter. By selecting the eye icon we can toggle saved filters on a board.
Filters can also be easily removed by selecting the “Clear All Filters” button. When that button is selected, we can return to seeing all of the available cards.
Still Need Help?
If you want to start using more automations in your workflows, check out our other video guides on our YouTube channel.
Didn’t find what you needed? Check out our support portal, contact our team, or check out our other resources for help using Legalboards.


