Create unique email notifications personalized to your team, clients, or external consultants by setting up email automation in Legalboards.
By creating “Send Email” automations, you can go beyond a simple template email notification. However, templates can still appear as spam in some inboxes- which is a problem we want to help you with.
Legalboards deals with your workflows, and as such, all of your tasks and contact information is integrated within the system. As a result, you can use the “Send Email” action in combination with triggers like card movement, pending time, or task update status and filters to create fully customized automation that’s appropriate for your tasks.
If you’re unsure of how automation works or what benefits it could provide, check out this article.
Getting Started
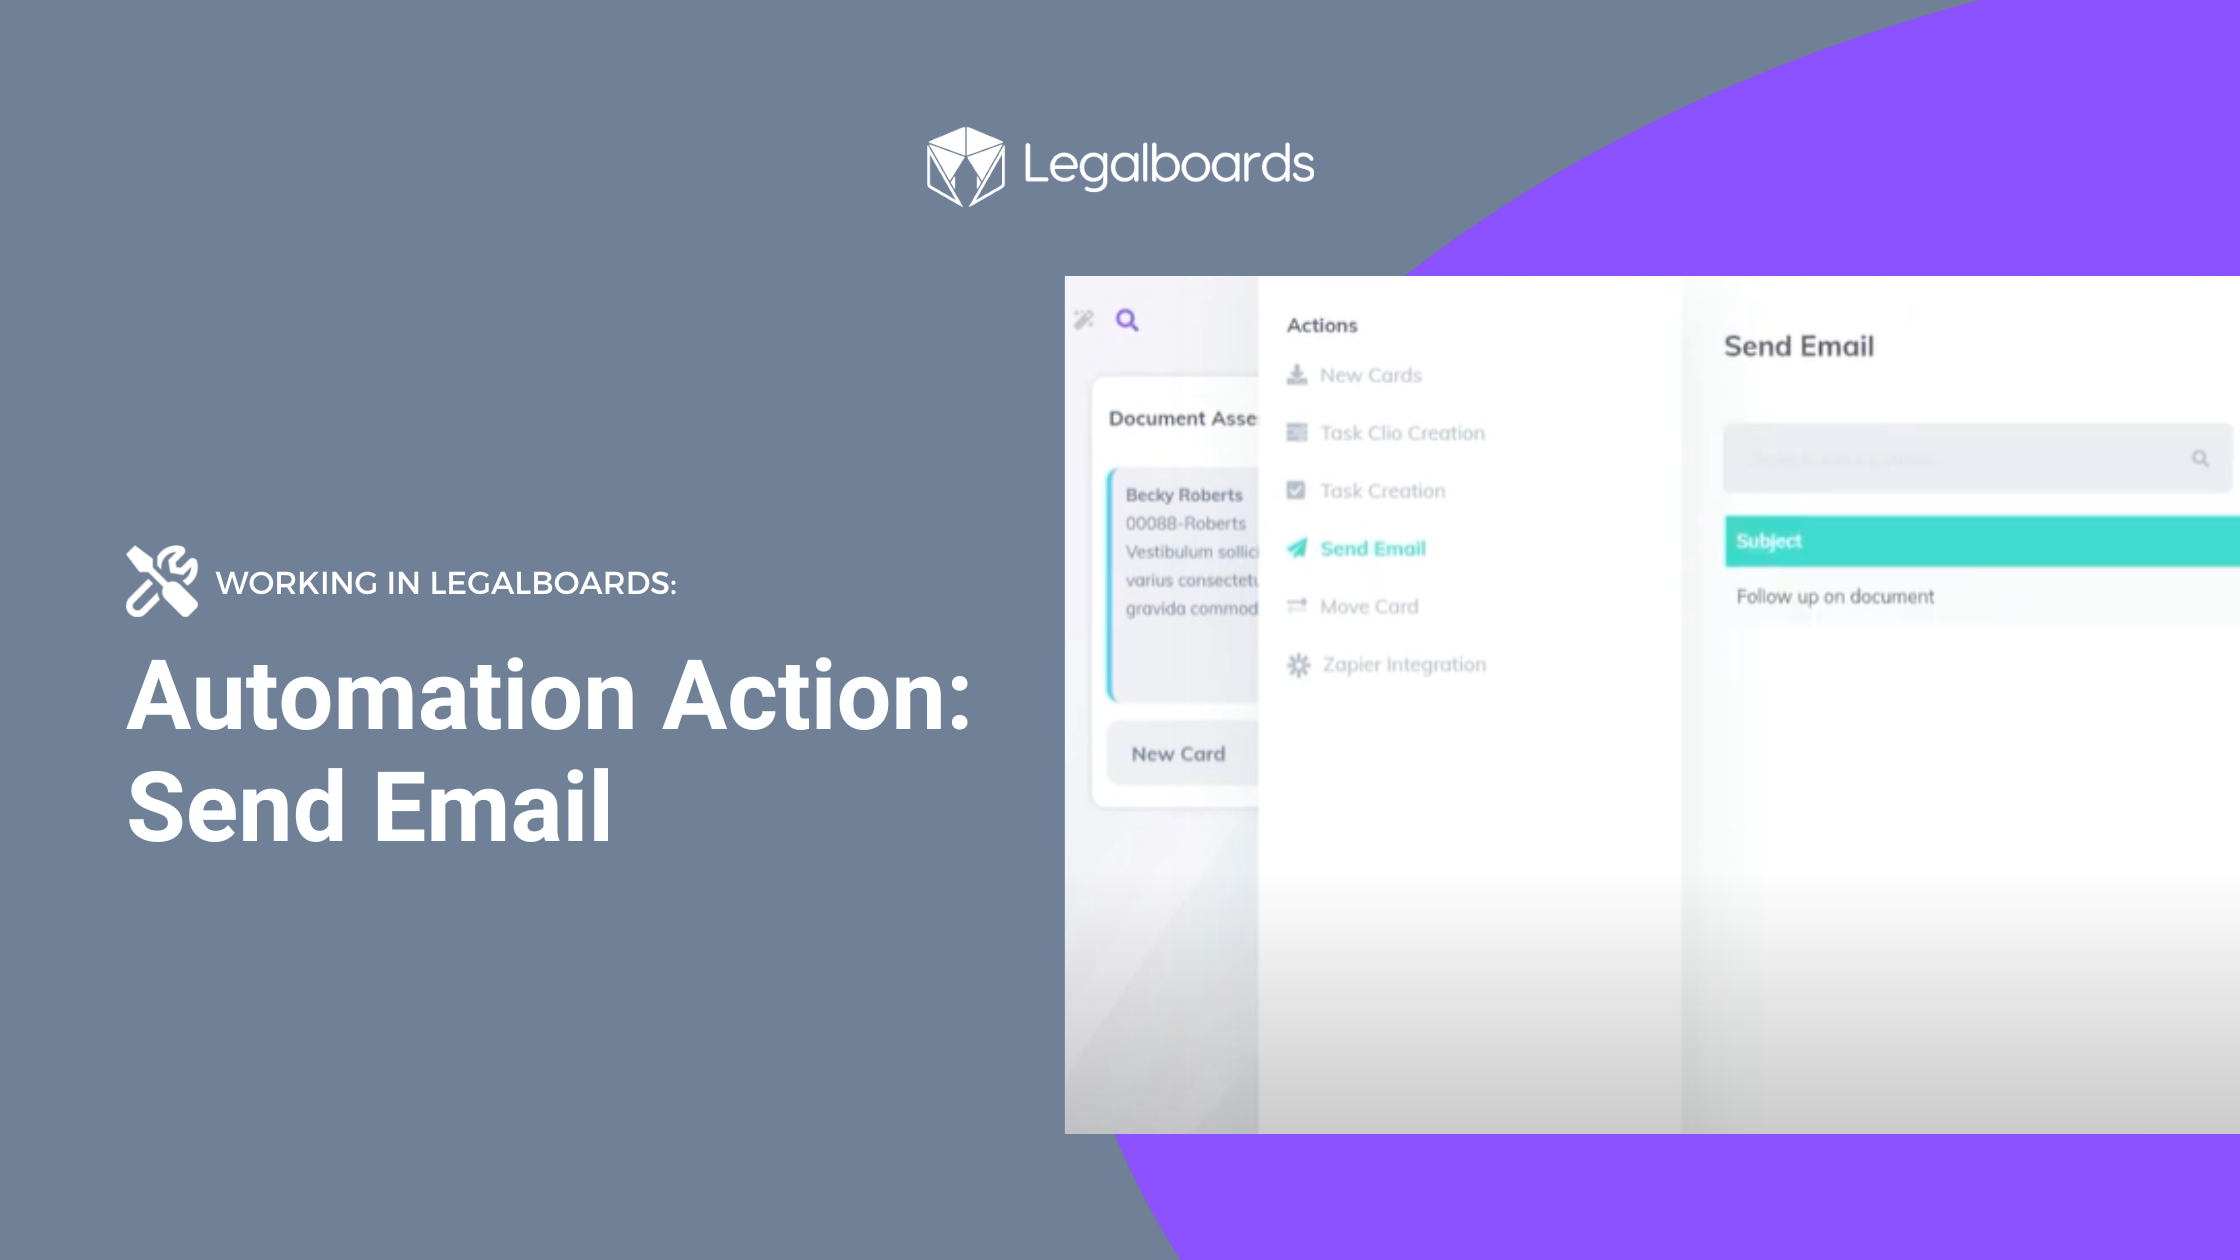
Now we’ll walk you through creating a “Send Email” automation. First, within Legalboards, find at the top right of your board page an icon called “Automations for this Board”. Click on that icon and choose the action “send email”.
You’ll need to configure your trigger (or when an automation will happen) and filter for your automation. From there, you can specify the sender and the receiver of the email as well as writing the content.
Let’s take look at how the fields related to the sender and receiver work:
- From: In this field, you will need to configure who is the sender of this email as well as what happens with any replies.
- To: This is the most crucial field, and you have several options. Let’s examine them one by one.
Specifying Your Fields
We’ll start by looking at the “To” field. The options for this field are:
- Matter’s responsible attorney: The email will be sent only to the matter cards, which have a responsible attorney and an email filled in.
- Matter’s originating attorney: The email will be sent only to the matters cards, which have an originating attorney and an email filled in.
- Client’s email: If the matters or contact card has an associated client email, this email will be sent to the client.
- Card`s members: The email will be sent to anyone who is a member of this card.
However, you are not limited to just one of these options for the “To” field. Multiple options can be chosen in order to customize this process for your specific needs.
Next, we’ll specify the “From” field where you’ll have the option to specify who will be receiving this email. You only have to choose one of your team members in any role- admin, members, or viewers.
You can see this in action in the video below;
Finally, you can customize the message that will be sent. You can specify the subject and content you want so you can send specific messages.
Email Automation in Action
Now that you know how to create an automation for the Send Email action, let’s look at some examples of the action in use:
- General Workflow
When a divorce matter arrives in the “Approval” column, an email will be sent to the client explaining the next steps on the divorce case workflow. - Accounting
When a card stays more than 15 days in the “Billing” column, an email will be sent to the members of this card to alert them of case status. - Immigration
When a card in the “Registration Form (Preparation)” column has a “Letter Preparation” task completed, an email will be sent to the responsible attorney.
If you still need more help check out our support portal for more resources or find more video guides here.


